As the sun peeks through the kitchen window on a leisurely Saturday morning, I’m reminded of the aroma that once filled my childhood home. Banana bread. It’s magical. It takes me back, reminding me of warm family gatherings, cozy chats, and that crucial moment when the first slice is cut. Banana bread pairs wonderfully with a cup of coffee or tea, and let me tell you—a slather of butter or a dollop of Greek yogurt makes it even better.
But let’s not just reminisce. Let’s dive into how we can recreate this delight without a hitch. I’ve cracked the code for an easy no-fail banana bread that will make your kitchen smell like a bakery, without any stress or fuss.
After a few trials and a bit of patience, I found the perfect balance in ingredients and technique. With the following recipe, you’ll not only have homemade banana bread, but you’ll also impress family and friends.
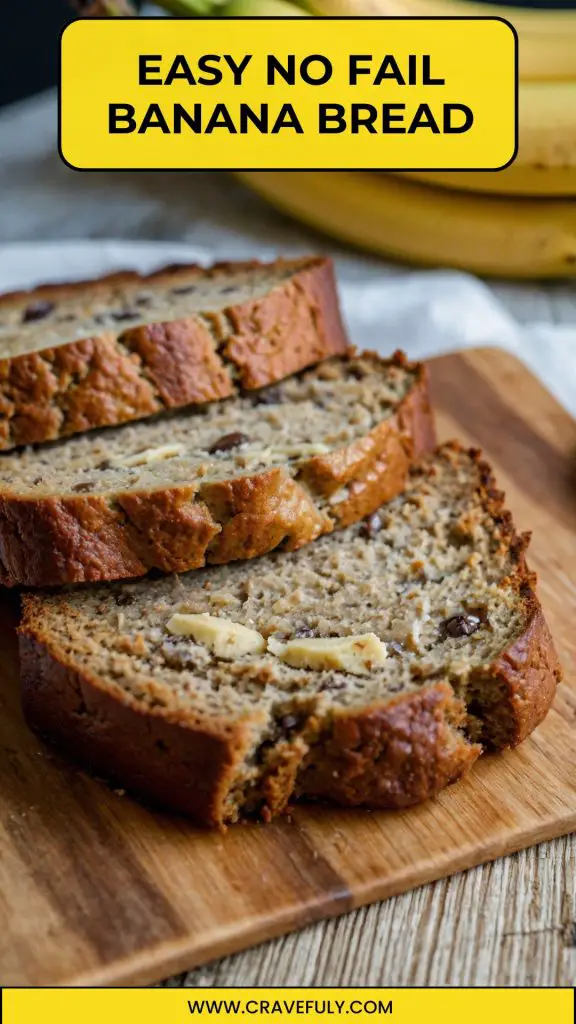
Why This Recipe Works
There’s a reason this banana bread recipe is foolproof. Allow me to share four vital factors that contribute to its success:
1. Ripe Bananas Are Key:
The bread’s sweetness and richness stem from very ripe bananas. I always choose those that have brown spots. The riper they are, the sweeter and more flavorful the bread becomes.
2. Simple Mixing Method:
No fancy equipment needed here. You can create this delightful loaf with just a bowl and a fork. You won’t have to worry about over-mixing, which often leads to a dense bread.
3. Balanced Fat Content:
Using both butter and a touch of Greek yogurt or sour cream adds moisture without making it greasy. This combination keeps the texture light and fluffy.
4. Adjustability:
This recipe is versatile. You can toss in walnuts, chocolate chips, or even cranberries. Depending on your preference, you can create variations without compromising the essential formula of delicious banana bread.
How Does It Taste?
In my experience, the taste of this banana bread is nothing short of heavenly. It’s moist, sweet, and just the right amount of dense. The hint of cinnamon creates warmth, while the vanilla brings everything together beautifully. Plus, when you sprinkle the top with nuts, you get a perfect crunch on each bite.
When I baked this for the first time, my neighbors were the lucky recipients of a loaf. Their smiles were all the validation I needed. One bite, and it was clear—this isn’t just banana bread; it’s a comforting hug in loaf form.
What Sets This Recipe Apart?
Unlike many recipes that can lead to confusion, this version is straightforward. It relies on everyday ingredients that you likely already have in your pantry. Here’s how this one rises above the rest:
No Special Equipment Required: Just your mixing bowl, a fork for mashing, and a loaf pan.
No Complicated Techniques: Just mix, pour, and bake. No need for elaborate food processors or mixers.
Dependable Results: By following these instructions, you will consistently end up with a beautifully rising loaf every time.
Now, let’s plunge into the specifics. Here are the ingredients you’ll need to bake your no-fail banana bread.
You will also like the following Breakfast recipes!
- How to make Your Keto-Friendly Banana Chaffles
- Healthy Banana Oatmeal Muffins
- Best Avocado Toast with Eggs
The Ingredients
- 3 medium bananas, mashed (about 1 ½ cups), preferably very ripe for sweetness
- 1 ½ cups (195g) all-purpose flour, spooned into the cup and leveled off
- 8 tablespoons (115g) unsalted butter, melted and cooled
- ¾ cup (150g) light brown sugar, packed
- 2 large eggs at room temperature
- 1 teaspoon baking soda
- ¼ teaspoon fine sea salt
- ¾ teaspoon ground cinnamon
- 1 teaspoon pure vanilla extract
- ½ cup (60g) toasted chopped walnuts, optional but adds nice crunch
- 1 tablespoon Greek yogurt or sour cream – for added moisture and tenderness
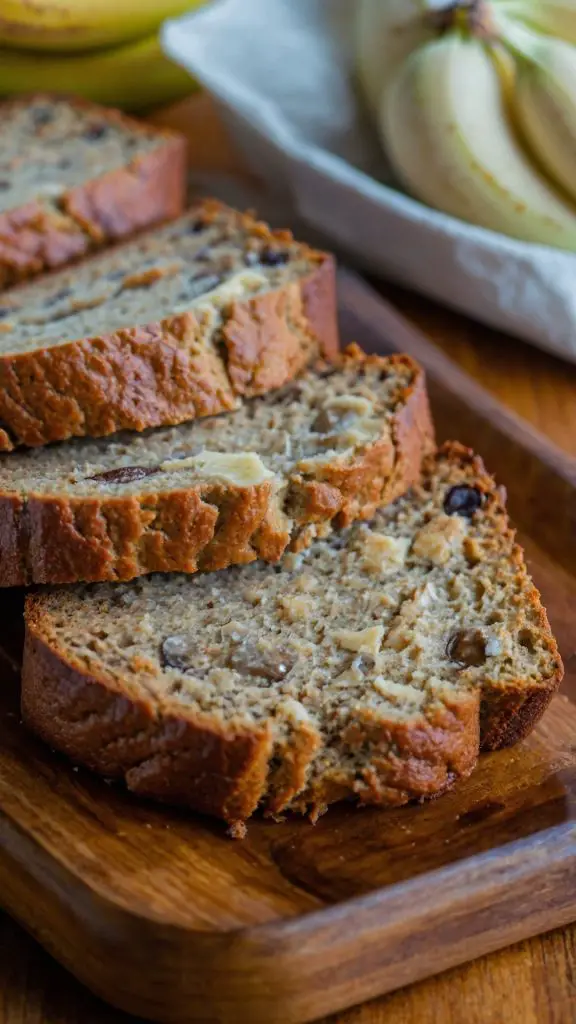
Instructions
Let’s guide you through the steps to creating your homemade banana bread.
Step 1: Preheat Your Oven
Start by preheating your oven to 350°F (175°C). This way, you won’t have to wait for the oven to heat while you’re mixing.
Step 2: Prepare Your Loaf Pan
Next, grab a 9×5 inch loaf pan and grease it lightly with butter or non-stick spray. You want to ensure every last bit of your creation will come out easily.
Step 3: Mash the Bananas
In a large mixing bowl, mash those ripe bananas with a fork until smooth. I’ve found that a few small lumps add character, but it’s up to you!
Step 4: Mix Wet Ingredients
Then, add melted butter to the bananas. Stir it until combined. Next, mix in the brown sugar, eggs, vanilla, and your choice of Greek yogurt or sour cream. Whisk gently until all the wet ingredients are blended but don’t overdo it.
Step 5: Combine Dry Ingredients
In a separate bowl, whisk together the flour, baking soda, salt, and cinnamon. This helps ensure even distribution of the baking soda, which is key for that lovely rise.
Step 6: Combine Wet and Dry
Now, gradually add the dry mixture to the wet ingredients. Stir gently until just combined. You don’t want to over-mix; a few lumps are perfectly fine.
Step 7: Add Optional Ingredients
If you’re using walnuts or any other additions, gently fold them in now. They’ll add a delightful crunch.
Step 8: Transfer to the Loaf Pan
Pour the batter into your prepared loaf pan. Make sure it’s evenly spread out.
Step 9: Bake
Bake for 50-60 minutes, or until a toothpick inserted into the center comes out clean. The top should be beautifully golden-brown.
Step 10: Cool and Serve
Once baked, let the banana bread cool in the pan for 10 minutes before transferring it to a wire rack. This ensures it doesn’t get soggy. Once cool, slice it up and enjoy!
Notes (Tips)
Use Overripe Bananas: The more spots on your bananas, the better.
Room Temperature Ingredients: Bringing eggs to room temperature helps them blend well.
Don’t Overmix: Overmixing can lead to dense bread. Stir until just combined.
Chill Your Loaf: If you can resist, let the bread rest overnight. It enhances the flavor.
Experiment: Feel free to adjust spices like nutmeg if you’re feeling adventurous!
Nutrition Information
While enjoying a slice of banana bread, you might be curious about its nutritional content. Here’s a quick breakdown per slice (assuming 12 slices per loaf):
- Calories: Approximately 175
- Protein: 3g
- Carbohydrates: 24g
- Fat: 8g
- Fiber: 1g
- Sugar: 8g
This is a treat that you can enjoy without giving up entirely on your healthy eating goals.
How Do You Store This Easy No-Fail Banana Bread?
If you manage to have leftovers (a rare occurrence in my home), store them in an airtight container or wrap it tightly in plastic wrap. The banana bread can stay at room temperature for about 3 days. For longer storage, freeze individual slices. Just thaw them at room temperature or pop them in the microwave for a few seconds.
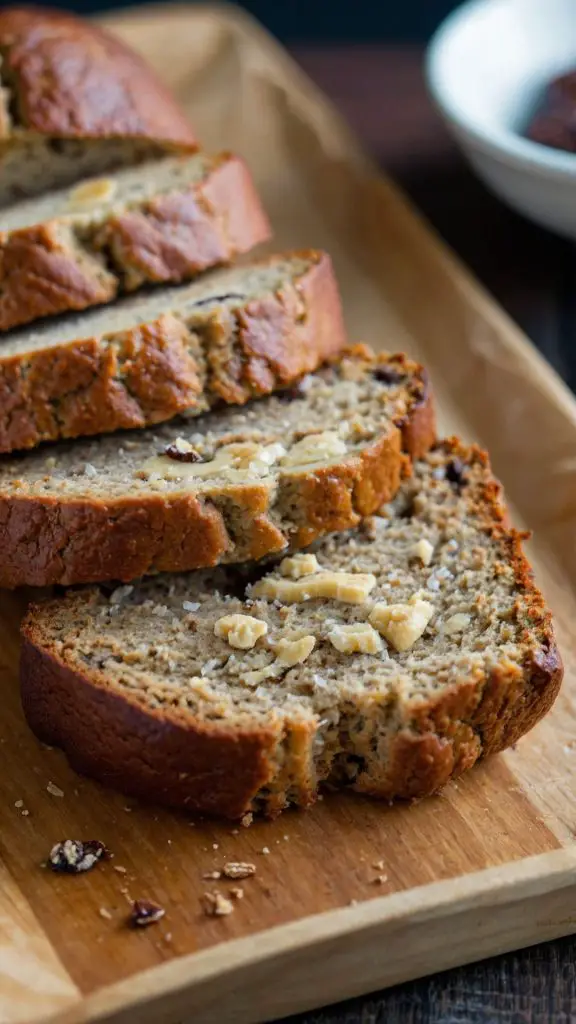
Sides for Easy No-Fail Banana Bread
While banana bread is delightful on its own, here are three fantastic companions:
Greek Yogurt: A dollop on the side turns this sweet loaf into breakfast heaven. The tartness complements the sweetness perfectly.
Coffee or Tea: Nothing pairs quite like a steaming cup of coffee with a slice of banana bread. Choose your favorite brew, and you’re in for a treat.
Nut Butter: Spread a little almond or peanut butter on top for added protein and a thicker texture. It transforms your banana bread into a creamy delight.
What Alternatives Can You Use for the Ingredients if They Are Not Present?
Don’t fret if you’re missing a few items. Here are some substitutions:
Applesauce for Butter: Replace the butter with equal parts applesauce for a lower-fat version. This will also add natural sweetness.
Maple Syrup for Brown Sugar: If you run out of brown sugar, use an equal amount of maple syrup to maintain that deep flavor profile.
Flax egg for Eggs: If you want an egg-free version, combine 1 tablespoon of ground flaxseed with 2.5 tablespoons of water. Let it sit for a few minutes to thicken.
Gluten-Free Flour for All-Purpose Flour: A gluten-free blend can work just as well if you or someone you know is gluten intolerant.
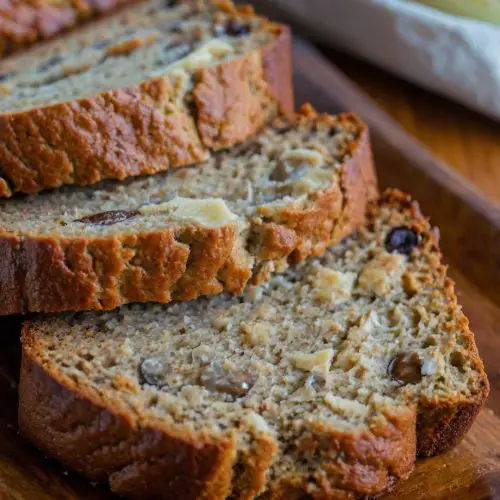
Easy No-Fail Banana Bread
Equipment
- Oven
- Bowl
Ingredients
- 3 medium bananas mashed (about 1 ½ cups), preferably very ripe for sweetness
- 1 ½ cups 195g all-purpose flour, spooned into the cup and leveled off
- 8 tablespoons 115g unsalted butter, melted and cooled
- ¾ cup 150g light brown sugar, packed
- 2 large eggs at room temperature
- 1 teaspoon baking soda
- ¼ teaspoon fine sea salt
- ¾ teaspoon ground cinnamon
- 1 teaspoon pure vanilla extract
- ½ cup 60g toasted chopped walnuts, optional but adds nice crunch
- 1 tablespoon Greek yogurt or sour cream – for added moisture and tenderness
Instructions
Step 1: Preheat Your Oven
- Start by preheating your oven to 350°F (175°C). This way, you won’t have to wait for the oven to heat while you’re mixing.
Step 2: Prepare Your Loaf Pan
- Next, grab a 9×5 inch loaf pan and grease it lightly with butter or non-stick spray. You want to ensure every last bit of your creation will come out easily.
Step 3: Mash the Bananas
- In a large mixing bowl, mash those ripe bananas with a fork until smooth. I’ve found that a few small lumps add character, but it’s up to you!
Step 4: Mix Wet Ingredients
- Then, add melted butter to the bananas. Stir it until combined. Next, mix in the brown sugar, eggs, vanilla, and your choice of Greek yogurt or sour cream. Whisk gently until all the wet ingredients are blended but don’t overdo it.
Step 5: Combine Dry Ingredients
- In a separate bowl, whisk together the flour, baking soda, salt, and cinnamon. This helps ensure even distribution of the baking soda, which is key for that lovely rise.
Step 6: Combine Wet and Dry
- Now, gradually add the dry mixture to the wet ingredients. Stir gently until just combined. You don’t want to over-mix; a few lumps are perfectly fine.
Step 7: Add Optional Ingredients
- If you’re using walnuts or any other additions, gently fold them in now. They’ll add a delightful crunch.
Step 8: Transfer to the Loaf Pan
- Pour the batter into your prepared loaf pan. Make sure it’s evenly spread out.
Step 9: Bake
- Bake for 50-60 minutes, or until a toothpick inserted into the center comes out clean. The top should be beautifully golden-brown.
Step 10: Cool and Serve
- Once baked, let the banana bread cool in the pan for 10 minutes before transferring it to a wire rack. This ensures it doesn’t get soggy. Once cool, slice it up and enjoy!
Notes
- Use Overripe Bananas: The more spots on your bananas, the better.
- Room Temperature Ingredients: Bringing eggs to room temperature helps them blend well.
- Don’t Overmix: Overmixing can lead to dense bread. Stir until just combined.
- Chill Your Loaf: If you can resist, let the bread rest overnight. It enhances the flavor.
- Experiment: Feel free to adjust spices like nutmeg if you’re feeling adventurous!
Nutrition
Frequently Asked Questions
1. Can I use frozen bananas?
Absolutely! Thaw your frozen bananas and mash them up. They may release extra moisture, so you might want to reduce some of the yogurt or butter slightly.
2. Why is my banana bread dense?
This can happen if you overmix the batter or if your bananas weren’t ripe enough. Stick to gentle mixing, and always use very ripe bananas for the best results.
3. How can I make banana bread healthier?
You can reduce the sugar or substitute it with honey or maple syrup. Including whole wheat flour instead of all-purpose is another healthy switch.
4. Can I add other fruits?
Of course! Chopped apples, blueberries, or even raisins can work beautifully. Just balance the moisture so the consistency doesn’t get too wet.
Conclusion
There you have it! An easy no-fail banana bread recipe that takes you back to warm, cozy memories. It’s a deliciously simple way to delight your taste buds and those of your loved ones. The balance of flavors, along with the moisture from ripe bananas and yogurt, results in a treat that’s hard to resist.
Now, I invite you to gather your ingredients, warm up your oven, and immerse yourself in the joy of baking. Whether you enjoy it with a cup of coffee or as an after-school snack for the kids, it’s sure to become a family favorite. Happy baking!

