Before we plunge into the crispy world of Zaxby’s fried pickles, let’s talk about what pairs well with this delightful dish. If I were introducing these to a gathering, I would suggest serving them with:
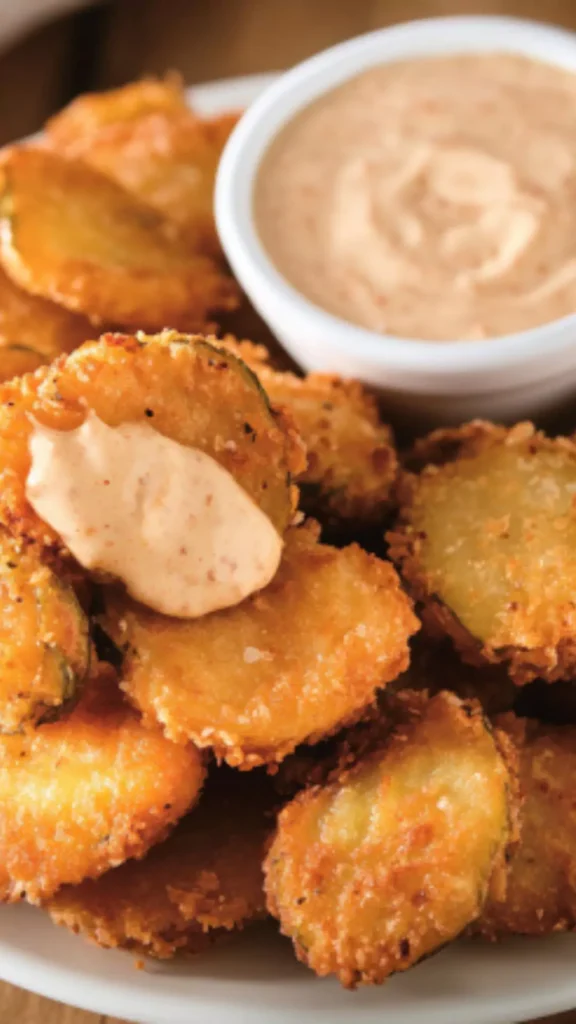
Zax Sauce: This tangy, zesty dipping sauce complements the pickles beautifully. The flavors marry together perfectly, creating a flavor explosion.
Buffalo Wings: These spicy morsels added to the fried pickles create a fun mix of flavors. The heat from the wings balances the cool crunch of the pickles. You’ll have the best of both worlds: heat and crunch.
Coleslaw: A bright, tangy coleslaw adds a refreshing crispness to the meal. The cool creaminess of the coleslaw provides relief from the crispy fried goodness.
Now that you know how to set the stage, let’s dive deeper.

Fried pickles are more than just a snack; they are an experience. I first tried Zaxby’s fried pickles during a road trip. We stopped impulsively at a Zaxby’s, craving a quick bite.
As I took my first crunchy bite, the zing of dill pickle combined with the crispy exterior hit me like a delicious revelation. I couldn’t believe how simple yet satisfying they were. Fast forward to today; they’re not just a guilty pleasure, but my go-to comfort food.
This blog will guide you through making your own version of Zaxby’s fried pickles at home. Packed with juicy flavor and accompanied by insightful tips, this dish flourishes as an appetizer or snack.
You will also like the following Side Dish recipes!
- Best Bojangles Vinegar Slaw Recipe
- How to make Bojangles French Fry Seasoning
- Easy Brenda Gantt Tomato Gravy Recipe
What Are Zaxby’s Fried Pickles?
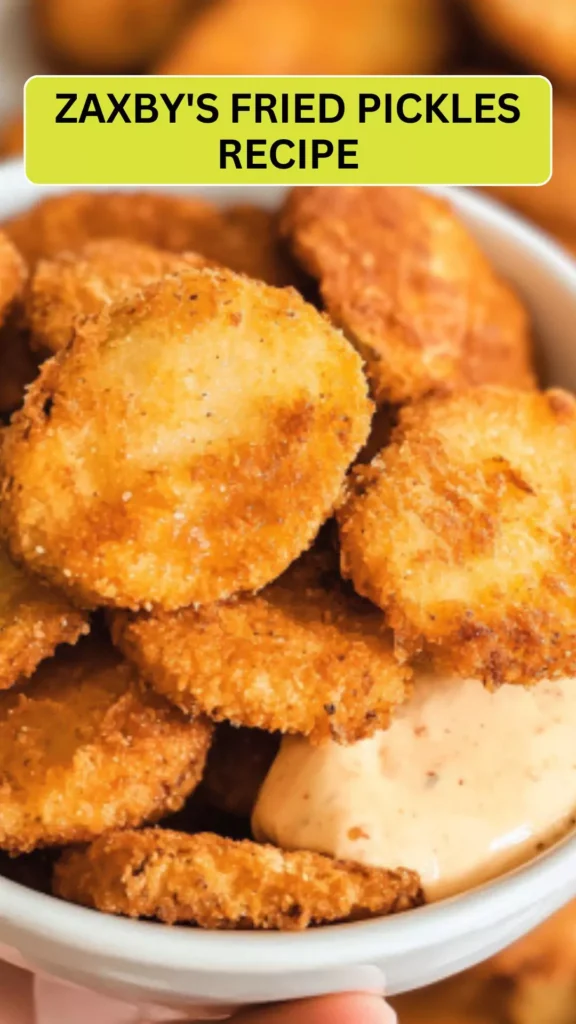
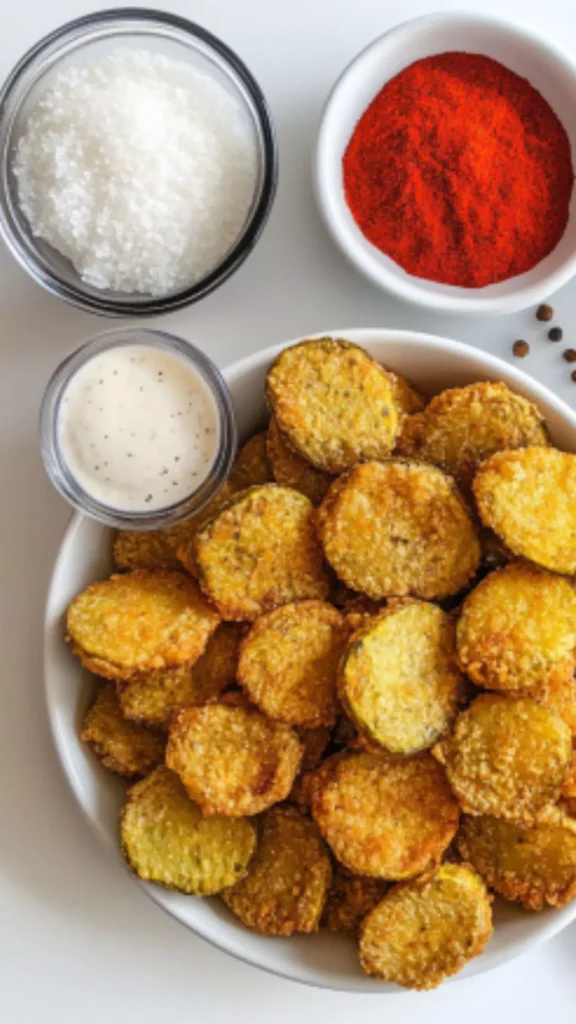
Zaxby’s fried pickles are crispy, deep-fried slices of dill pickles, often served with a delicious dipping sauce.
The combination of the crunchy breading and the briny goodness of the pickles creates a tantalizing experience that keeps you going back for more.
Why This Recipe Works
Several factors make this recipe a winner:
Crispy Coating: The breading creates a crunchy outer layer that contrasts beautifully with the soft pickle inside. You want that satisfying crunch with each bite.
Flavor Balance: The spices add depth to the coating, enhancing the pickles’ natural flavors. A touch of garlic powder and smoked paprika works wonders!
Quick to Prepare: The steps are straightforward, making it an easy dish to whip up, even on a busy day. You can wind down with these crunchy snacks in under 30 minutes.
Versatility: You can serve these pickles alone as an appetizer, or you can pair them with various meals, making them a delightful addition to any plate.
Ingredients You’ll Need to Make This Dish
Gathering ingredients is half the fun! Here’s what you’ll need:
1 cup all-purpose flour: This will create the initial coating for the pickles.
1 teaspoon garlic powder: Adds essential flavor.
1 teaspoon smoked paprika: This creates a depth of flavor and slight smokiness.
1/4 teaspoon Cajun seasoning: Brings a little kick and personality to the dish.
1/2 teaspoon onion powder (optional): Add if you want an extra layer of taste.
2 large eggs, beaten: Acts as the binding agent for the breadcrumbs.
1 cup panko breadcrumbs: These provide a light, airy crunch.
1 cup dill pickle slices: The star of the dish!
1 tablespoon grated Parmesan cheese (optional): For added richness and flavor.

How to Make Zaxby’s Fried Pickles?
Now, let’s get down to business. Here’s how I create these crispy delights, step-by-step.
Step 1: Prepare the Pickles
Start by draining the dill pickle slices. This step is crucial; excess moisture can ruin that crispy exterior. Pat the pickles dry with paper towels. The drier, the better!
Step 2: Set Up Your Breading Station
Prepare three shallow bowls. In the first, mix the flour, garlic powder, smoked paprika, Cajun seasoning, and onion powder. In the second bowl, add the beaten eggs. Finally, fill the third bowl with panko breadcrumbs mixed with Parmesan cheese if you’re using it.
Step 3: Dredge the Pickles
Take a pickle slice and dip it into the flour mixture. Make sure it’s fully coated, then shake off the excess. Next, immerse it in the beaten egg, followed by the panko breadcrumbs. Press gently to ensure the breadcrumbs stick well. Repeat this process with all the pickle slices.
Step 4: Heat the Oil
Heat a deep skillet or a pot with oil over medium-high heat. If you have a thermometer, aim for 350°F. If not, drop a breadcrumb into the oil. If it sizzles, you’re good to go!
Step 5: Fry the Pickles
Carefully add a few coated pickle slices to the hot oil. Don’t overcrowd the pan; it can lower the temperature of the oil. Fry them in batches for about 2-3 minutes on each side until golden brown. Use a slotted spoon to remove them and let them drain on paper towels.
Step 6: Serve and Enjoy
Grab a plate, pile those crispy fried pickles high, and don’t forget your favorite dipping sauce on the side. Trust me, you’re going to want to dig in!
Tips & Tricks
Here are some handy tips to elevate your frying game:
Use an Oil with High Smoke Point: Canola or peanut oil works great for frying. It prevents burning and helps achieve a golden color.
Test the Oil Temperature: Always check if the oil is hot enough before frying. Cool oil can lead to soggy coating.
Serve Immediately: These pickles taste best fresh. Once they cool down, you lose that crunchy texture.
Experiment with Seasonings: Feel free to adjust the spice levels by adding cayenne pepper or your favorite seasonings.
Don’t Skip Drying the Pickles: Removing moisture is key to ensuring crispy fried pickles.

How Do You Store the Leftovers?
If, by some miracle, you have leftover fried pickles, store them in an airtight container in the fridge. They’ll last about 2-3 days.
To reheat, pop them in an oven at 375°F for about 10-15 minutes to revive their crunch. Avoid microwaving them, which may make them soggy.
What Sides Would Complement Zaxby’s Fried Pickles?
Serving fried pickles? Here are some fantastic side options:
Fries: Classic fries with a sprinkle of seasoning make for a crispy side that everyone loves.
Nachos: Piled high with cheese, jalapeños, and more, nachos bring a festive flair when served alongside pickles.
Garden Salad: A fresh salad brightens up the meal, providing a healthy balance. Opt for a vinaigrette to keep it light.
What Alternatives Can You Use for the Ingredients if They Are Not Present in Your Kitchen?
Sometimes, ingredients are elusive. Here are alternatives:
Flour: You can use whole wheat flour or gluten-free flour for a different twist on the coating.
Eggs: If you’re vegan, substitute with flax eggs (1 tablespoon ground flaxseed + 2.5 tablespoons water) or silken tofu blended until smooth.
Panko Breadcrumbs: If you have regular breadcrumbs, use them instead, but note they may not be as crispy.
Dill Pickles: If you can’t find dill pickles, consider using bread and butter pickles, though they will impart a sweeter flavor.

Zaxby’s Fried Pickles Recipe
Equipment
- Deep skillet
Ingredients
- 1 cup all-purpose flour
- 1 teaspoon garlic powder
- 1 teaspoon smoked paprika
- 1/4 teaspoon Cajun seasoning
- 1/2 teaspoon onion powder optional, for extra depth
- 2 large eggs beaten
- 1 cup panko breadcrumbs
- 1 cup dill pickle slices
- 1 tablespoon grated Parmesan cheese optional, for added richness
Instructions
- Now, let’s get down to business. Here’s how I create these crispy delights, step-by-step.
Step 1: Prepare the Pickles
- Start by draining the dill pickle slices. This step is crucial; excess moisture can ruin that crispy exterior. Pat the pickles dry with paper towels. The drier, the better!
Step 2: Set Up Your Breading Station
- Prepare three shallow bowls. In the first, mix the flour, garlic powder, smoked paprika, Cajun seasoning, and onion powder. In the second bowl, add the beaten eggs. Finally, fill the third bowl with panko breadcrumbs mixed with Parmesan cheese if you’re using it.
Step 3: Dredge the Pickles
- Take a pickle slice and dip it into the flour mixture. Make sure it’s fully coated, then shake off the excess. Next, immerse it in the beaten egg, followed by the panko breadcrumbs. Press gently to ensure the breadcrumbs stick well. Repeat this process with all the pickle slices.
Step 4: Heat the Oil
- Heat a deep skillet or a pot with oil over medium-high heat. If you have a thermometer, aim for 350°F. If not, drop a breadcrumb into the oil. If it sizzles, you’re good to go!
Step 5: Fry the Pickles
- Carefully add a few coated pickle slices to the hot oil. Don’t overcrowd the pan; it can lower the temperature of the oil. Fry them in batches for about 2-3 minutes on each side until golden brown. Use a slotted spoon to remove them and let them drain on paper towels.
Step 6: Serve and Enjoy
- Grab a plate, pile those crispy fried pickles high, and don’t forget your favorite dipping sauce on the side. Trust me, you’re going to want to dig in!
Notes
Nutrition
Frequently Asked Questions
1. Can I bake instead of fry?
Yes, you can bake these pickles! Preheat your oven to 425°F, place them on a parchment-lined baking sheet, and spray lightly with cooking spray. Bake for about 15-20 minutes, flipping halfway through.
2. Do I need to use dill pickles specifically?
While dill pickles are traditional, you can experiment with other varieties like spicy pickles or gherkins for a twist!
3. Can I make these ahead of time?
You can prepare the pickles and the coating in advance. Bread them just before frying to keep the outside crispy.
4. What dipping sauce works best?
Zax sauce is a great choice, but you can also opt for ranch dressing, honey mustard, or even sriracha for a kick.
5. Are these suitable for a gluten-free diet?
Absolutely! Use gluten-free breadcrumbs and flour to make them gluten-free.
6. How can I make these spicier?
Add cayenne pepper to the breading mixture or serve with a spicy dipping sauce to amp up the heat!
Conclusion
There you have it! Making Zaxby’s fried pickles at home is an adventure filled with flavor and crunch. From the crispy coating to the juicy pickle center, every bite is worth savoring. With a few simple ingredients and steps, you can impress friends and family at your next gathering.
Enjoy them alongside the perfect pairs and remember—the joy is in sharing (and maybe indulging a little more than you planned). So go ahead, create these crispy treats, and relish the moment!


