When you think about enjoying Zaxby’s fried mushrooms, imagine the delicious flavor combinations that can elevate your experience.
For starters, a refreshing side salad can work wonders. Think about a crisp garden salad topped with a light vinaigrette or creamy dressing.
Pairing mushrooms with a zesty ranch dip adds a great balance to the dish. The creamy richness complements the earthy crunch of the mushrooms perfectly.
If you’re feeling adventurous, consider pairing them with spicy buffalo sauce for a burst of flavor.
Now, let’s bring it all together.

As an avid food lover and self-proclaimed kitchen experimenter, I’ve spent many happy hours enjoying this crunchy, golden dish. It’s a favorite comfort food that offers an irresistible crunch and umami blast.
Fried mushrooms are a classic appetizer in many places, but there’s something special about Zaxby’s take on them. Whether you’re heading to a game night with friends, a family gathering, or just want to indulge while binge-watching your favorite series, these mushrooms stand out.
I’ll walk you through the whys and hows of creating this indulgent treat. Buckle up for a delicious journey into Zaxby’s fried mushrooms, from ingredients to storage tips and everything in between!
You will also like the following Appetizer recipes!
- Best Fish Daddy’s Mexican Shrimp Cocktail Recipe
- How to make Caramel popcorn microwave no corn syrup
- Copycat Bonchon Soy Garlic Chicken Wings Recipe
What Are Zaxby’s Fried Mushrooms?
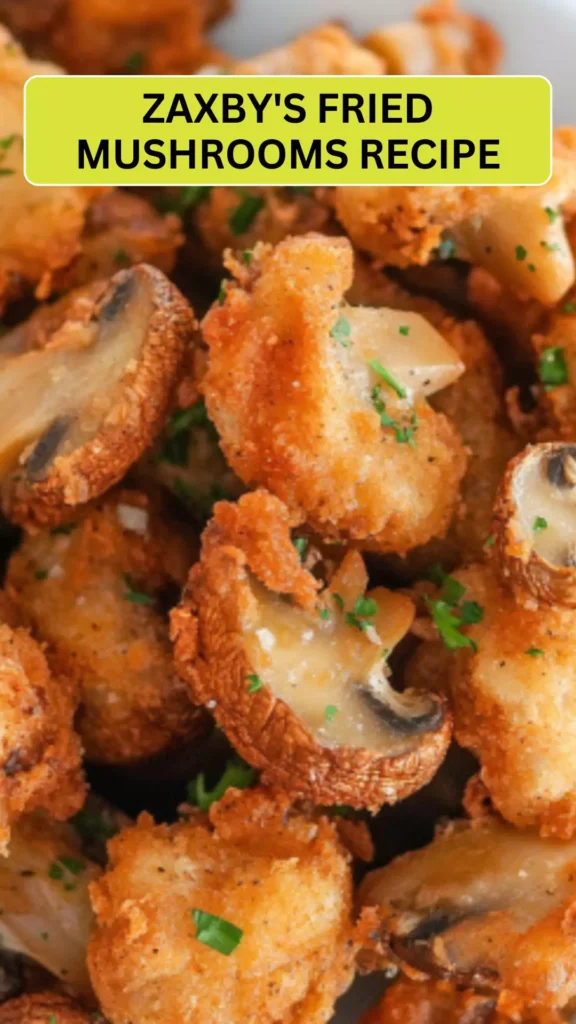
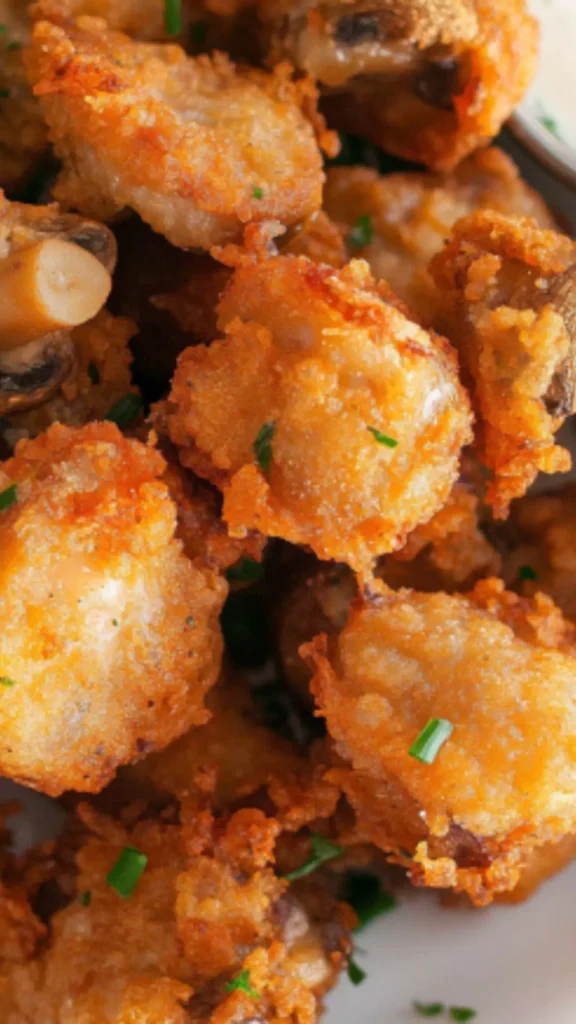
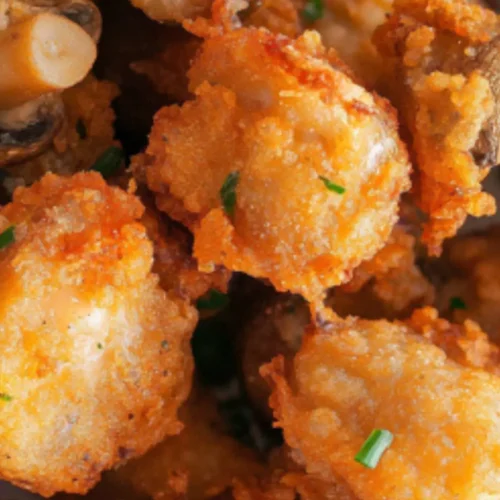
Zaxby’s fried mushrooms are golden-brown, crispy bites made from fresh mushrooms, coated in seasoned flour, then deep-fried to perfection. They are deliciously crunchy outside, yet tender and juicy inside.
The mushrooms absorb the flavors from the crispy batter, making each bite a savory delight. Zaxby’s serves them with a side of dipping sauce, typically creamy ranch or tangy ketchup, enhancing their taste and texture even further.
These little morsels are not just an appetizer; they’re a conversation starter, a comfort food, and a must-try for anyone who enjoys robust flavors.
Why You’ll Love Zaxby’s Fried Mushrooms
- Perfect Texture: The initial crunch gives way to the tender mushroom inside, creating a satisfying mouthfeel. There’s a certain charm in the way they crack under your teeth.
- Flavor Explosion: The seasoning—smoked paprika, garlic powder, and black pepper—works together in harmony. Each bite provides a burst of flavor that’s better than any typical snack.
- Versatile Appetizer: They can fit seamlessly into any meal. Whether game day or a cozy dinner night, these mushrooms can cater to any gathering.
- Easily Dippable: Having a side of ranch, ketchup, or even a spicy aioli makes them even better. It’s fun to experiment with different dips and find your ultimate favorite pairing.
- Healthier Indulgence: While still a fried food, mushrooms are nutritious and provide antioxidants. This makes indulging a little easier on the conscience.
The Ingredients You Will Need to Make Zaxby’s Fried Mushrooms
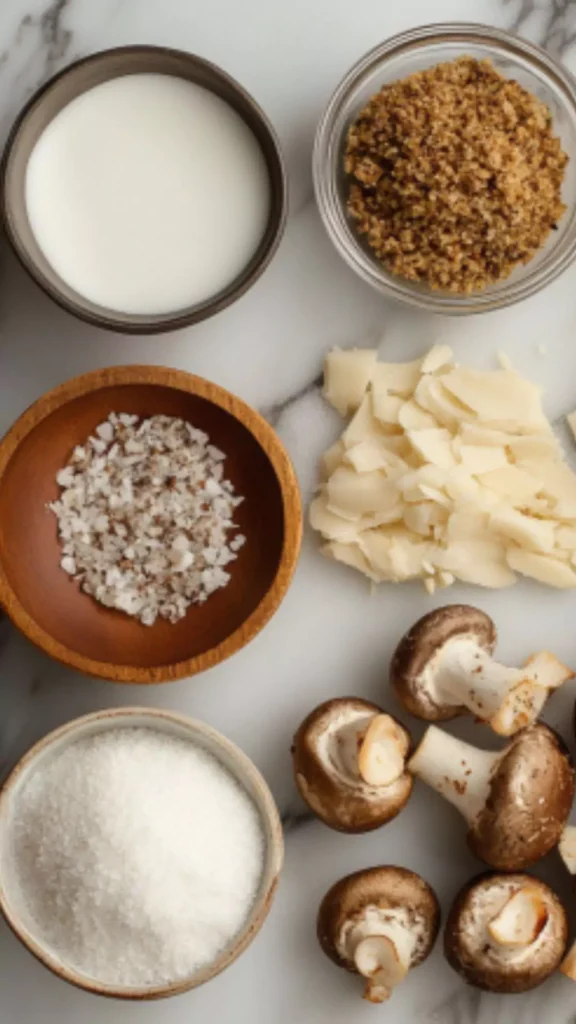
To create the magic of Zaxby’s fried mushrooms, gather the following ingredients:
- 8 ounces fresh mushrooms (preferably button or mini-portabellas), cleaned, patted dry, and stems trimmed
- 1 cup cultured buttermilk
- 2 cups all-purpose flour
- 1 ½ teaspoons kosher sea salt
- 1 teaspoon freshly ground black pepper
- ½ teaspoon smoked paprika
- ½ teaspoon garlic powder
- ½ teaspoon baking soda
- Vegetable oil for frying
- Dipping sauce (such as creamy ranch dressing, tangy ketchup, or your preferred dip)

Directions
Step 1: Prepare the Mushrooms
Clean the mushrooms thoroughly. Use a damp cloth to wipe them. This method keeps them from getting too soggy. Trim the stems if necessary and set them aside.
Step 2: Make the Buttermilk Coating
In a bowl, pour the cultured buttermilk. This step is crucial as it helps the flour adhere better to the mushrooms. You can let them soak for about 10–15 minutes.
Step 3: Mix the Dry Ingredients
In another bowl, combine the flour, kosher salt, black pepper, smoked paprika, garlic powder, and baking soda. Stir them together until they are well mixed. This mix is where the flavor magic begins.
Step 4: Coat the Mushrooms
Remove the mushrooms from the buttermilk and allow excess liquid to drip off. Dredge each mushroom in the seasoned flour mixture. Make sure they’re evenly coated. This process ensures that every bite will be crispy and flavorful.
Step 5: Heat the Oil
In a deep saucepan or a frying pan, heat vegetable oil to about 350°F (175°C). You can test the oil by dropping a little flour in; if it sizzles, you’re ready to fry.
Step 6: Fry the Mushrooms
Carefully add the coated mushrooms to the hot oil. Don’t overcrowd the pan; fry them in batches if necessary. Fry until they turn golden brown, usually 3–4 minutes. Use a slotted spoon to remove them, allowing excess oil to drain.
Step 7: Serve
Enjoy your fried mushrooms hot with your chosen dipping sauce. The flavor explosion is just a moment away!
Notes
- Choose Fresh Mushrooms: Always use the freshest mushrooms available. They should be firm to the touch and have a pleasant smell.
- Control Your Oil Temperature: If the oil is too hot, the outside may cook too quickly, burning before the inside is done. Conversely, oil that’s too cool might result in soggy mushrooms.
- Double Coat for Extra Crunch: For an even crispier texture, dip the mushrooms back into the buttermilk after the first coating and then re-dredge them in the flour mixture.
- Let Them Drain: After frying, place the mushrooms on a paper towel-lined plate. This will help remove excess oil.
- Experiment with Seasonings: Feel free to add other spices to your flour mix, like cayenne for heat or Parmesan for extra savory goodness.
Storage Tips
Store leftover fried mushrooms in an airtight container in the refrigerator for up to 3 days. They may lose crispness upon reheating, but a quick blast in the air fryer or oven can help bring back some crunch. Avoid microwaving them to retain the crisp factor!

Serving Suggestions
Here are five serving ideas that really make the mushrooms shine:
- Top with Grated Parmesan: After frying, sprinkle freshly grated Parmesan cheese on top. This addition enhances the flavor and adds a gourmet touch.
- Create a Mini Appetizer Plate: Combine fried mushrooms with wings, celery sticks, and various dips. This option is perfect for parties and gatherings.
- Serve alongside a Burger: Set them as a mouthwatering side to your favorite burger. The combination makes for a satisfying, hearty meal.
- Add to a Salad: Toss them into a fresh salad for a unique twist. The crunch adds texture, and it pairs well with creamy dressings.
- Include in a Wrap: Stuff them in a wrap with lettuce, tomatoes, and your favorite sauce for a tasty lunch option. It’s fun and filling!
What Other Substitutes Can I Use in Zaxby’s Fried Mushrooms?
If you want to get creative, here are five substitutes you can use:
- Zucchini: Slice zucchini into rounds, coat them, and fry. Their taste and texture create a lighter alternate dish.
- Cauliflower: For a vegetable-packed option, use cauliflower florets. They fry beautifully and absorb flavors well.
- Eggplant: Slice eggplant into discs and prepare as usual. This option is excellent for those who enjoy a more robust flavor.
- Onion Rings: If mushrooms aren’t your thing, opt for onion rings! They follow the same process and make a delicious alternative.
- Green Tomatoes: Slices of green tomatoes can be fried similarly. Their tang provides a delightful twist to the flavor.

Zaxby’s Fried Mushrooms Recipe
Equipment
- Deep saucepan
Ingredients
- 8 ounces fresh mushrooms preferably button or mini-portabellas, cleaned, patted dry, and stems trimmed
- 1 cup cultured buttermilk
- 2 cups all-purpose flour
- 1 ½ teaspoons kosher sea salt
- 1 teaspoon freshly ground black pepper
- ½ teaspoon smoked paprika
- ½ teaspoon garlic powder
- ½ teaspoon baking soda
- Vegetable oil for frying
- Dipping sauce such as creamy ranch dressing, tangy ketchup, or your preferred dip
Instructions
Step 1: Prepare the Mushrooms
- Clean the mushrooms thoroughly. Use a damp cloth to wipe them. This method keeps them from getting too soggy. Trim the stems if necessary and set them aside.
Step 2: Make the Buttermilk Coating
- In a bowl, pour the cultured buttermilk. This step is crucial as it helps the flour adhere better to the mushrooms. You can let them soak for about 10–15 minutes.
Step 3: Mix the Dry Ingredients
- In another bowl, combine the flour, kosher salt, black pepper, smoked paprika, garlic powder, and baking soda. Stir them together until they are well mixed. This mix is where the flavor magic begins.
Step 4: Coat the Mushrooms
- Remove the mushrooms from the buttermilk and allow excess liquid to drip off. Dredge each mushroom in the seasoned flour mixture. Make sure they’re evenly coated. This process ensures that every bite will be crispy and flavorful.
Step 5: Heat the Oil
- In a deep saucepan or a frying pan, heat vegetable oil to about 350°F (175°C). You can test the oil by dropping a little flour in; if it sizzles, you’re ready to fry.
Step 6: Fry the Mushrooms
- Carefully add the coated mushrooms to the hot oil. Don’t overcrowd the pan; fry them in batches if necessary. Fry until they turn golden brown, usually 3–4 minutes. Use a slotted spoon to remove them, allowing excess oil to drain.
Step 7: Serve
- Enjoy your fried mushrooms hot with your chosen dipping sauce. The flavor explosion is just a moment away!
Notes
- Choose Fresh Mushrooms: Always use the freshest mushrooms available. They should be firm to the touch and have a pleasant smell.
- Control Your Oil Temperature: If the oil is too hot, the outside may cook too quickly, burning before the inside is done. Conversely, oil that’s too cool might result in soggy mushrooms.
- Double Coat for Extra Crunch: For an even crispier texture, dip the mushrooms back into the buttermilk after the first coating and then re-dredge them in the flour mixture.
- Let Them Drain: After frying, place the mushrooms on a paper towel-lined plate. This will help remove excess oil.
- Experiment with Seasonings: Feel free to add other spices to your flour mix, like cayenne for heat or Parmesan for extra savory goodness.
Nutrition
Frequently Asked Questions
Can I make Zaxby’s fried mushrooms in an air fryer?
Absolutely! To make them in an air fryer, coat the mushrooms as usual. Preheat the air fryer to 400°F (200°C).
Spray the mushrooms lightly with cooking spray and air fry them for about 12-15 minutes until crispy and golden, shaking the basket halfway through
How can I ensure the mushrooms are seasoned evenly?
It’s crucial to mix your flour seasoning well to disperse the flavors evenly. Also, consider letting the seasoned mushrooms sit for a few minutes after dredging.
This helps the coating adhere better and allows flavors to set.
Can I freeze the leftovers?
Yes, you can freeze leftover fried mushrooms! Place them in an airtight container or freeze them in a single layer on a baking sheet before transferring to a bag. They can be reheated in the oven or air fryer for best results.
What type of mushrooms do you recommend?
When making Zaxby’s fried mushrooms, button or mini-portabella mushrooms tend to yield the best flavor and texture. Their consistency handles frying well.
How can I add a spicy kick to the mushrooms?
To give your mushrooms a kick, add cayenne pepper or hot sauce to the buttermilk before coating. You can also use a spicy dipping sauce like sriracha or chipotle mayo to pair with them.
What is the best way to reheat fried mushrooms?
For reheating, an air fryer or oven is ideal. Preheat to around 350°F (175°C) and heat for about 5-7 minutes until they’re warmed through. This method helps preserve crunch.
Conclusion
Zaxby’s fried mushrooms bring joy and taste to any occasion. Their crispy covering and savory flavor create a memorable experience.
The ease of preparing them at home means you can indulge whenever the craving strikes.
So whether you’re hosting a gathering or just treating yourself, these fried wonders are sure to please.
Remember to experiment with different dips and sides to unlock even more flavor combinations. With a little creativity and passion, you can bring the magic of Zaxby’s right into your kitchen!


