Imagine sinking your teeth into crispy, golden chicken fingers that don’t just taste good; they transport you to another world of flavor. That’s what you get with Zaxby’s chicken fingers.
As someone who loves food, especially delicious, crunchy chicken, I just had to dive deep into this Southern fast-food gem.
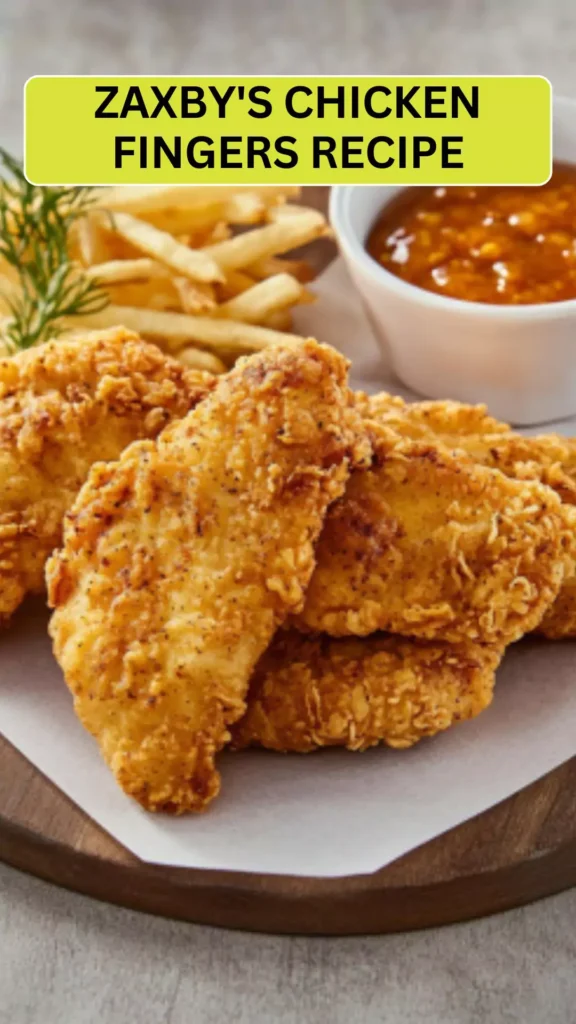
Whether you’re maintaining a busy lifestyle or hosting a weekend gathering, Zaxby’s chicken fingers are sure to please. Buckle up; let’s explore why these chicken delights are worth sharing.
What is Zaxby’s Chicken Fingers?
Zaxby’s chicken fingers are more than just fast food; they are an experience. Each tender strip is lovingly marinated, then breaded and fried to perfection. You might think of them as the quintessential Southern comfort food, but there’s so much more to them.
Each bite offers a balance of tenderness on the inside and a crispy coat on the outside. Dipped in Zax Sauce or Ranch dressing—if you dare—you enter a realm of flavor that feels both familiar and exciting.
Zaxby’s has been serving its delicious chicken fingers since the late ’90s. Founded in Georgia, this fast-food chain has expanded throughout the Southeastern United States. Its appeal lies not just in the food but also in its nurturing, communal vibe.
Here’s why you’ll absolutely adore these chicken fingers.
You will also like the following Appetizer recipes!
- Best Asian Zing Buffalo Wild Wings Recipe
- How to make Tomatillo Green Chili Salsa Chipotle
- Easy Bonchon Soy Garlic Chicken Wings Recipe
Why You’ll Love Zaxby’s Chicken Fingers
You might be wondering what makes Zaxby’s chicken fingers a standout. That’s a fair question, but the answer is straightforward. They offer more than just flavor; they provide a sensation that resonates with the soul.
First, they are cooked fresh to order. Forget the reheated, lackluster chicken you often find elsewhere. Each piece is handled with care. Next, the dip options deserve a shout-out. Who can say no to a tangy Zax Sauce or a creamy Ranch?
Pairing your chicken with the perfect dip can completely elevate your meal.
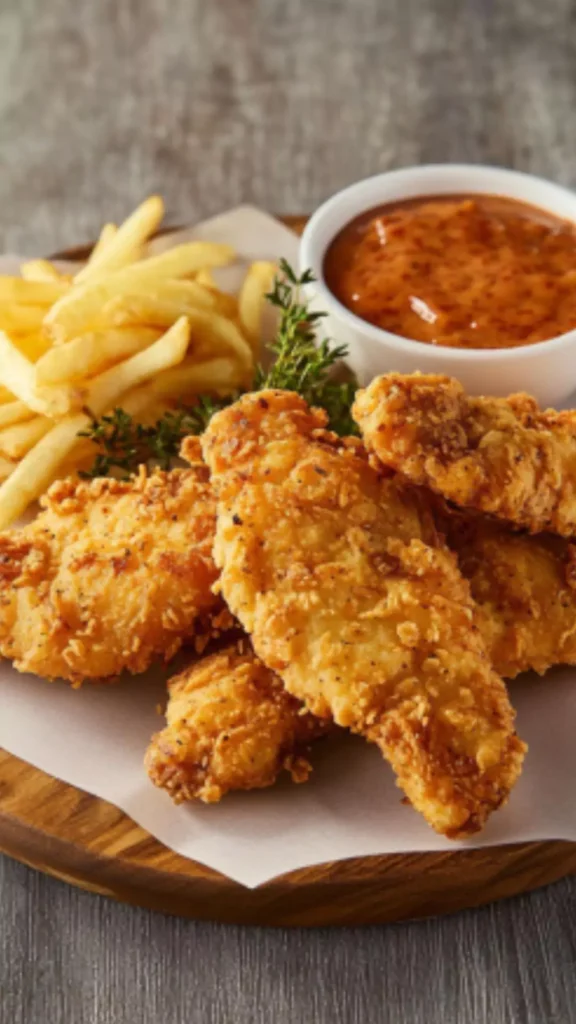
Also, let’s talk variety. You aren’t limited to just chicken fingers. Consider a basket that includes fries, or a side salad to balance it out. Let me assure you—there’s something for everyone here.
The Ingredients
Curious about what goes into making these savory chicken fingers? Here’s a look at the simple yet flavorful ingredients you need:
- 1 lb. (500g) chicken tenderloins
- 2 large eggs, beaten
- 1 cup panko breadcrumbs
- ⅓ cup all-purpose flour
- 1 cup crushed cornflakes
- ½ tbsp. dried Italian herbs
- ¼ tsp. sea salt
- ½ tsp. garlic powder
- 1 tbsp. Parmesan cheese, grated
- Freshly cracked black pepper, to taste
- ⅓ cup cultured buttermilk
- Non-stick cooking spray
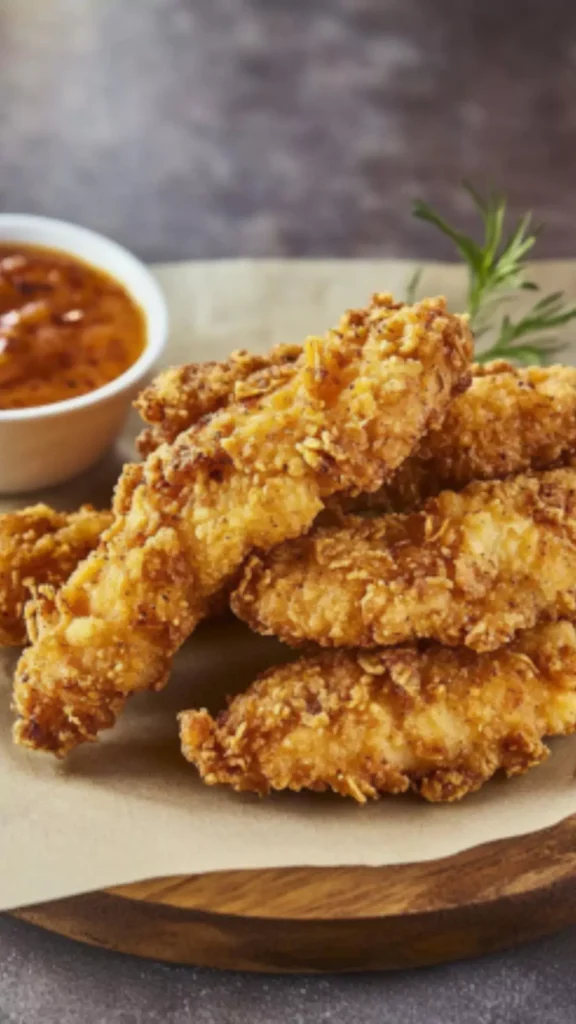
This collection of ingredients plays a crucial role. The blend of the panko breadcrumbs with crushed cornflakes brings that unique crunch that you crave.
Step-by-Step Instructions
Cooking is an art, and every masterpiece starts with a clear plan. Here’s how to make Zaxby’s chicken fingers at home.
Step 1: Prepare Your Workspace
Set up your kitchen for a smooth cooking experience. Gather all your ingredients and tools, including two shallow bowls for the egg and flour mixture, and a plate for the breadcrumb coating. A frying pan or deep fryer is essential for the next steps.
Step 2: Marinate the Chicken
In a bowl, soak the chicken tenderloins in cultured buttermilk. This not only adds flavor but also tenderizes the meat. Allow it to marinate for at least 30 minutes. The longer, the better!
Step 3: Set Up the Breading Station
In one bowl, combine the flour, salt, garlic powder, Italian herbs, and cracked black pepper. In another bowl, beat the eggs until they are frothy.
Step 4: Create the Crunch
To make your crispy coating, mix the panko breadcrumbs and crushed cornflakes on a plate, adding in the grated Parmesan. You want every piece of chicken to be blanketed in this flavorful crunch.
Step 5: Bread the Chicken
Remove the chicken from the buttermilk. Dip each tenderloin into the flour mixture, then into the egg, and finally into the breadcrumb mix. Make sure each piece is fully coated.
Step 6: Fry the Chicken
Heat oil in your frying pan over medium-high heat. Place the breaded chicken fingers in the hot oil. Fry them for about 3-4 minutes on each side, or until they are golden brown.
Step 7: Serve and Enjoy
Carefully transfer the chicken fingers to a paper towel-lined plate to drain excess oil. Serve hot, accompanied by your favorite dipping sauces. Enjoy!
Tips & Tricks
Here are some handy tips to elevate your chicken finger game:
- Use Fresh Ingredients: Fresh chicken tenderloins will yield better flavor and texture than frozen options.
- Don’t Rush the Marinade: Allowing the chicken to soak in buttermilk helps it stay juicy and flavorful.
- Double-Bread for Extra Crisp: For an ultra-crunchy finish, dip the chicken twice in the egg and breadcrumb mixture—trust me, it’s worth it!
- Control the Oil Temperature: If the oil is too hot, the outside may cook too fast while leaving the inside uncooked. A medium heat ensures even cooking.
- Experiment with Spices: Feel free to add other spices to the breadcrumb mix, like cayenne or Paprika, for that extra kick.
Nutrition Information
zaxby’s chicken fingers recipe nutrition facts
Can I Store Zaxby’s Chicken Fingers?
Absolutely! If you have leftovers, feel free to store them in an airtight container. They can last in the fridge for up to 3 days. Just remember, chicken fingers are best enjoyed fresh, so you might want to reheat them in an oven to retain that lovely crunch.
What Can I Serve with Zaxby’s Chicken Fingers?
Wondering what sides to pair with those tasty fingers? Here are some suggestions:
- French Fries: A classic pairing. Who can resist a side of crispy fries?
- Coleslaw: The creamy, tangy flavor provides a delightful contrast to the chicken.
- Veggie Sticks with Dip: Crunchy carrots and celery with Ranch make for a refreshing contrast.
- Mac and Cheese: For those comfort food lovers, creamy mac makes the perfect companion.
- Corn on the Cob: A touch of sweetness balances out the savory chicken flavors.
Variations
Want to switch things up? Here are some exciting variations on the classic Zaxby’s chicken fingers:
- Buffalo Chicken Fingers: Toss your cooked fingers in Buffalo sauce for a spicy kick. Serve with blue cheese dressing for dipping.
- BBQ Chicken Fingers: Brush with your favorite BBQ sauce before serving and pair with coleslaw on the side.
- Honey Mustard Variation: Drizzle honey mustard over the fingers for a sweet and tangy experience.
- Parmesan Crusted: Add extra Parmesan to your breadcrumbs for a savory twist that’s packed with flavor.
- Gluten-Free Option: Swap regular flour and breadcrumbs for gluten-free alternatives to cater to gluten-sensitive diners.
Zaxby’s Chicken Fingers Recipe
Equipment
- Shallow bowls
Ingredients
- 1 lb. 500g chicken tenderloins
- 2 large eggs beaten
- 1 cup panko breadcrumbs
- ⅓ cup all-purpose flour
- 1 cup crushed cornflakes
- ½ tbsp. dried Italian herbs
- ¼ tsp. sea salt
- ½ tsp. garlic powder
- 1 tbsp. Parmesan cheese grated
- Freshly cracked black pepper to taste
- ⅓ cup cultured buttermilk
- Non-stick cooking spray
Instructions
- Cooking is an art, and every masterpiece starts with a clear plan. Here’s how to make Zaxby’s chicken fingers at home.
Step 1: Prepare Your Workspace
- Set up your kitchen for a smooth cooking experience. Gather all your ingredients and tools, including two shallow bowls for the egg and flour mixture, and a plate for the breadcrumb coating. A frying pan or deep fryer is essential for the next steps.
Step 2: Marinate the Chicken
- In a bowl, soak the chicken tenderloins in cultured buttermilk. This not only adds flavor but also tenderizes the meat. Allow it to marinate for at least 30 minutes. The longer, the better!
Step 3: Set Up the Breading Station
- In one bowl, combine the flour, salt, garlic powder, Italian herbs, and cracked black pepper. In another bowl, beat the eggs until they are frothy.
Step 4: Create the Crunch
- To make your crispy coating, mix the panko breadcrumbs and crushed cornflakes on a plate, adding in the grated Parmesan. You want every piece of chicken to be blanketed in this flavorful crunch.
Step 5: Bread the Chicken
- Remove the chicken from the buttermilk. Dip each tenderloin into the flour mixture, then into the egg, and finally into the breadcrumb mix. Make sure each piece is fully coated.
Step 6: Fry the Chicken
- Heat oil in your frying pan over medium-high heat. Place the breaded chicken fingers in the hot oil. Fry them for about 3-4 minutes on each side, or until they are golden brown.
Step 7: Serve and Enjoy
- Carefully transfer the chicken fingers to a paper towel-lined plate to drain excess oil. Serve hot, accompanied by your favorite dipping sauces. Enjoy!
Notes
- Use Fresh Ingredients: Fresh chicken tenderloins will yield better flavor and texture than frozen options.
- Don’t Rush the Marinade: Allowing the chicken to soak in buttermilk helps it stay juicy and flavorful.
- Double-Bread for Extra Crisp: For an ultra-crunchy finish, dip the chicken twice in the egg and breadcrumb mixture—trust me, it’s worth it!
- Control the Oil Temperature: If the oil is too hot, the outside may cook too fast while leaving the inside uncooked. A medium heat ensures even cooking.
- Experiment with Spices: Feel free to add other spices to the breadcrumb mix, like
Nutrition
Frequently Asked Questions
Is Zaxby’s chicken fingers fried or baked?
Zaxby’s chicken fingers are traditionally fried to achieve that crispy texture. However, for a healthier option, you can bake them.
What sauces do they serve with chicken fingers?
Zaxby’s offers a delightful range of sauces including Zax Sauce, Ranch, Honey Mustard, and BBQ sauce. You can pick your favorite or try them all!
Can you customize your order?
Yes, Zaxby’s encourages customization. You can choose your sides, dips, and even how spicy you’d like your chicken.
Are there vegetarian options at Zaxby’s?
While the chain specializes in chicken, Zaxby’s does offer salads and sides that cater to vegetarian diets.
How can I make Zaxby’s chicken fingers healthier?
Consider using a healthy frying oil like avocado oil, or bake the chicken fingers instead of frying. You can also skip or reduce the amount of breading.
Conclusion
So there you have it: a complete journey into the enticing world of Zaxby’s chicken fingers. From their humble beginnings to a meal that can please the whole family, these chicken fingers are both flavorful and satisfying.
Whether you’re planning a dinner at home or a party spread, this dish is sure to be a hit. With a little creativity, you can enjoy this classic meal in countless variations.
So next time you’re craving that perfect crunch or juicy bite, just whip up a batch. Trust me, your taste buds will thank you!


