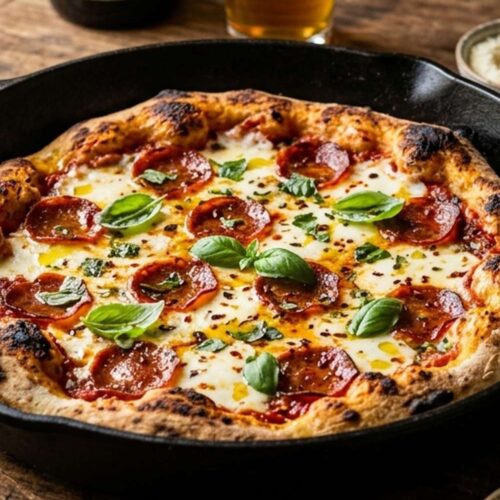
Cast Iron Pizza Grill Recipe

This cast iron pizza grill recipe doesn't just taste incredible—it stops people in their tracks. The moment you pull that skillet from the oven, golden crust bubbling at the edges and cheese stretched into pools of melty perfection, you've created something that looks as good as it tastes. I've been blending my nutrition background with chef techniques for years, and this dish perfectly captures that sweet spot where healthy ingredients meet pure indulgence. Whether you're feeding yourself on a Tuesday night or impressing guests on the weekend, this one delivers every single time.
Ingredients
- 1 tablespoon balsamic reduction, optional but recommended adds depth and visual shine to finished crust
- 1 pound pizza dough, store-bought room temperature for easier stretching and even cooking
- ½ teaspoon Italian seasoning blend oregano, basil, thyme base for complexity
- ⅔ cup shredded low-moisture mozzarella creates those Instagram-worthy bubbles and color
- ⅛ teaspoon kosher salt enhances crust flavor without overwhelming delicate dough
- 8-10 cherry tomatoes, sliced thin color architecture and fresh tomato notes
- ¼ teaspoon crushed red pepper adds visual flecks and subtle heat without overpowering
- 3 tablespoon extra-virgin olive oil divided for seasoning the pan and drizzling the dough
- Fresh basil leaves, whole final garnish for bright color and aromatic quality
- ⅓ cup marinara sauce, homemade or quality store-bought provides the red base layer
Instructions
Step 1: Prepare Your Oven and Workspace
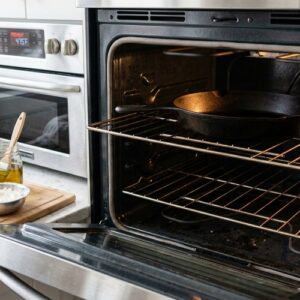
- Position your oven rack to the topmost position and preheat to 475°F. This matters more than you'd think—the top position ensures your cheese gets proper color and bubble development while your crust cooks through. While the oven warms, place your store-bought dough on a clean work surface. Don't skip room temperature dough—it stretches easier and cooks more evenly, which translates to better color distribution.
Step 2: Stretch and Shape Your Dough Canvas
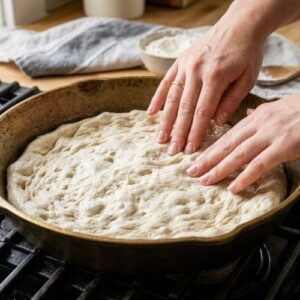
- Gently stretch your dough into a 10-inch round. Use your fingertips, not your palm—you want even thickness without pressing all the air out. Thicker edges mean more crust color variation, which looks sophisticated. Once shaped, cover loosely with plastic wrap while you prep toppings. This prevents the dough from drying out and maintains its elasticity for that beautiful puff in the oven.
Step 3: Season Your Cast Iron and Add the Base
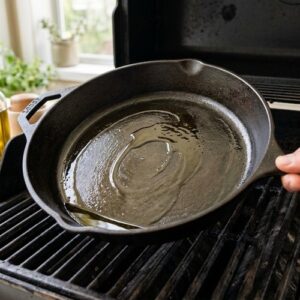
- Drizzle 1 tablespoon of extra-virgin olive oil directly into your well-seasoned cast iron skillet, coating the bottom evenly. The oil creates a crispy, golden bottom layer and prevents sticking. Carefully lay your stretched dough into the skillet, then use your fingertips to gently extend it all the way to the edges. Getting dough all the way to the sides ensures even cooking and those caramelized edge spots that look incredible. Sprinkle the salt and crushed red pepper across the dough surface. The red pepper flecks add visual interest—they're functional seasoning and a presentation detail. Drizzle the remaining 2 tablespoons of olive oil over the top. This is your golden ticket to a deeply colored crust.
Step 4: The First Bake (Crust Development)
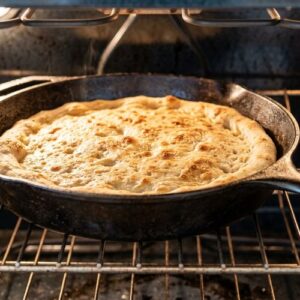
- Place the cast iron skillet in your preheated 475°F oven on the top rack. Bake for about 5 minutes until the crust is lightly golden brown. This first bake is critical—it sets the structure and begins the Maillard reaction that creates that gorgeous color. You're not aiming for dark brown yet; this is just the foundation for your visual masterpiece.
Step 5: The Topping Strategy
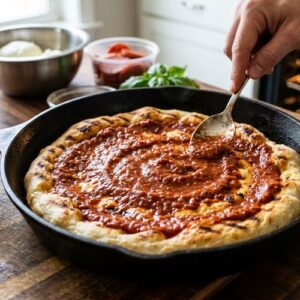
- Remove the skillet carefully from the oven—that cast iron handle is seriously hot. Spread the marinara sauce over the entire dough surface, leaving a thin ½-inch border around the edges. This border will puff and brown dramatically, creating height and color contrast. Spread sauce intentionally, not randomly—you want to see some texture variation, which reads as artisanal. Now distribute your mozzarella evenly across the sauce. Don't pile it in the center—spread it in one even layer. The tomato slices come next, arranged in a pattern that feels intentional but not overly formal. I like radiating them from the center outward, with slight overlaps. This creates visual rhythm and ensures even cheese coverage around each tomato slice, which means better color development. Sprinkle the Italian seasoning blend across the surface. The visual flecks of herbs signal flavor complexity before anyone tastes it.
Step 6: The Final Bake and Color Development
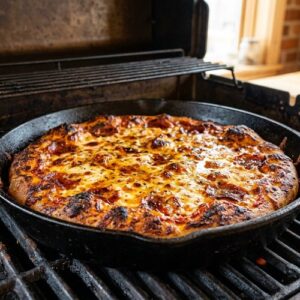
- Return the skillet to the top rack and bake for approximately 10 minutes until the crust is deeply golden brown around the edges and the cheese is bubbly. This is where the magic happens—your cheese develops those gorgeous golden bubbles and brown spots, and your crust edges go from light brown to mahogany. Watch it toward the end; ovens vary, and you want that sweet spot between bubbling and burned.
Step 7: Rest and Reveal
- Pull the skillet from the oven and let it cool for exactly 5 minutes. This is non-negotiable. During this time, the cheese sets slightly so it won't slide everywhere when you plate, and the crust firms up enough to slice cleanly. The bubbles remain glossy and defined rather than deflating into flatness.
Step 8: The Garnish Moment
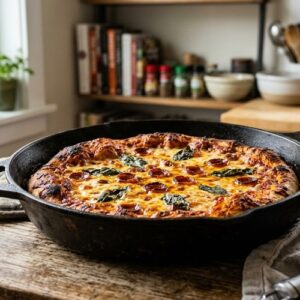
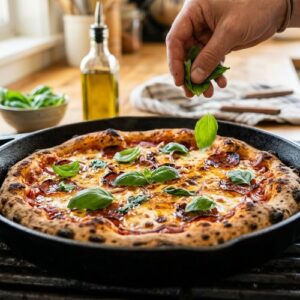
- Top with fresh basil leaves, scattering them across the surface. If you want to elevate this further—and I absolutely recommend it—drizzle a tiny bit of balsamic reduction across the crust. This adds visual sophistication and a sophisticated depth note that makes people wonder what your secret is. Serve immediately while the crust is still warm and the basil releases its fragrance.
Notes
- Golden Hour Is Your Friend - The warm, directional light of late afternoon or early evening flatters the golden crust and makes the red tomatoes sing. If you're shooting indoors, position yourself near a window with natural light hitting the skillet at a 45-degree angle. This creates shadow definition that makes the bubbled cheese look three-dimensional.
- Shoot Straight-On and Slightly Elevated - Your first shot should be directly overhead or very slightly angled (about 30 degrees from above). This captures the full pizza landscape and shows off your tomato arrangement and herb garnish. The elevated angle flatters cast iron and makes the depth of those cheese bubbles obvious.
- Capture the Steam and Motion - If you can, photograph within the first 2-3 minutes of plating. You'll catch wisps of steam rising from the hot crust. This adds atmospheric drama and signals temperature and freshness to viewers. Include a hand reaching toward the slice, or a knife cutting through, to create action and narrative.
- Props and Context Matter - Scatter fresh basil leaves around the skillet, include a small bowl of balsamic reduction, show your wooden cutting board. These contextual elements tell a story of intentional cooking and make the final image feel like a meal, not just a dish.
Nutrition
Calories: 410kcalCarbohydrates: 58gProtein: 14gFat: 14gSaturated Fat: 4gCholesterol: 12mgSodium: 1127mgFiber: 2gSugar: 9g
Tried this recipe?Let us know how it was!