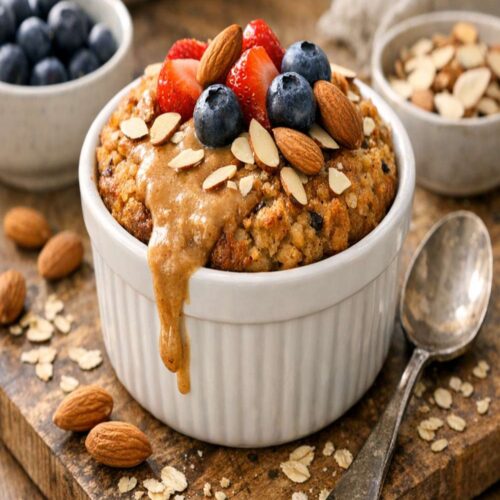
Almond Baked Oats Recipe

This almond baked oats recipe hits that sweet spot between restaurant-quality texture and nutritionist-approved nutrition. I've served this at brunches, meal-prepped it for clients, and honestly? It's my go-to when I want something that feels indulgent but fuels my body right. Pair it with a Banana Whey Shake for extra protein, or keep it simple with fresh berries and a drizzle of almond butter.
Ingredients
- 1½ cup rolled oats (old-fashioned style, not instant
- 1½ teaspoon baking powder this is your leavening agent, don't skip it
- ½ cup liquid egg whites pasteurized if you're concerned about food safety
- 1 teaspoon powdered sugar or monk fruit powdered blend final garnish for elegance
- ¼ cup pure maple syrup (grade A or B
- 1½ teaspoon pure almond extract (not imitation
- ¼ cup vanilla Greek yogurt adds creaminess and tanginess that balances the sweetness
- 1 tablespoon ground flaxseed adds omega-3s and nutty depth
- ⅓ cup raw sliced almonds for topping, lightly toasted
- ¼ teaspoon fine sea salt brings out the nuttiness and balances sweetness
- 1 cup unsweetened almond milk full-fat or regular both work perfectly
- ⅔ cup almond flour finely ground, not almond meal which has larger particles
Instructions
Step 1: Preheat and Prepare Your Baking Dish
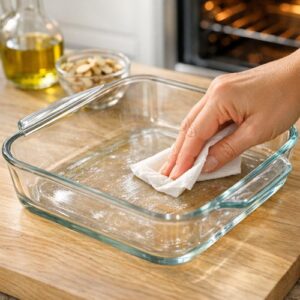
- Start by setting your oven to 350°F (175°C). While it heats, take an 8×8-inch baking dish—glass or metal both work—and lightly grease it with cooking spray or a thin coating of coconut oil. This prevents sticking and gives you clean slices later. Let the oven continue preheating while you gather your ingredients.
Step 2: Combine All Dry Ingredients
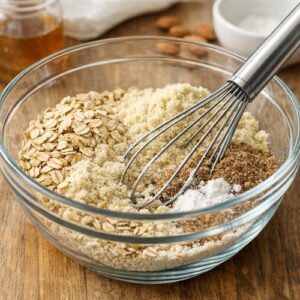
- In a large mixing bowl, pour in your rolled oats, almond flour, ground flaxseed, baking powder, and salt. Use a whisk to break up any clumps in the almond flour—this prevents dense pockets in your final bake. Stir everything together until the dry ingredients are evenly distributed. You should see no white streaks of almond flour; everything should look uniform and sandy in texture.
Step 3: Mix Your Wet Ingredients
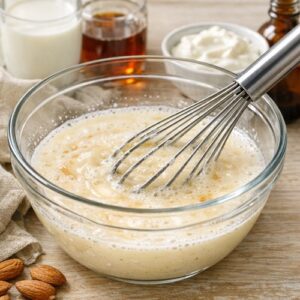
- In a separate bowl, whisk together the liquid egg whites, unsweetened almond milk, maple syrup, vanilla Greek yogurt, and almond extract. Whisk for about 20 seconds until everything is smooth and combined. This creates your wet base. The mixture should look pale and creamy, with no streaks of yogurt visible.
Step 4: Bring It All Together
- Pour the wet ingredients into your dry mixture. Using a spatula, fold everything together gently—and I mean gently. You're aiming for just-combined, not overmixed. A few small streaks of dry ingredient are fine; overmixing activates the gluten in the oats and creates a tougher crumb. Stir for about 15 seconds, then stop. Your batter should look thick and chunky, almost like cookie dough.
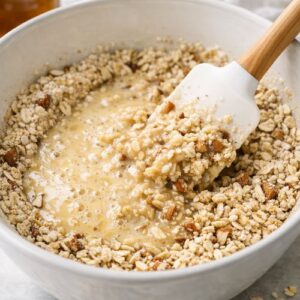
Step 5: Transfer and Top
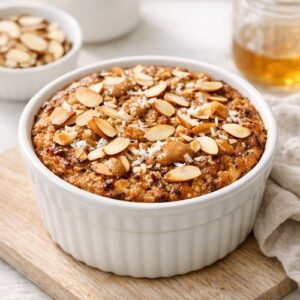
- Pour the batter into your prepared baking dish. Smooth the top gently with a spatula so it's level. Now sprinkle your sliced almonds evenly across the surface—don't press them in, just let them sit on top. They'll toast as the bake happens. Finally, dust that powdered sugar over everything. This creates a subtle sweetness on top and looks restaurant-level when it's done.
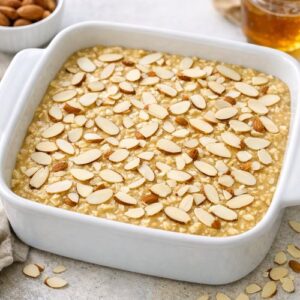
Step 6: Bake Until Golden
- Slide your dish into the preheated oven and bake for 30 minutes. You'll know it's ready when the edges are deep golden brown and the center jiggles only slightly when you gently shake the pan. A toothpick inserted in the middle should come out with just a few moist crumbs—not wet batter, but not completely dry either.
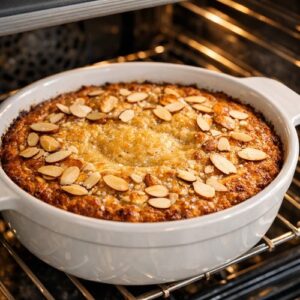
Step 7: Optional Broil for Extra Crunch
- For those of us who love texture contrast, move your oven rack to the top position and turn on the broiler for 2 to 3 minutes. Watch it constantly—broilers move fast. You want the almond topping to deepen to a burnished golden color and the powdered sugar to caramelize slightly. This step takes you from "good" to "chef's kiss." Remove from heat immediately and let cool.
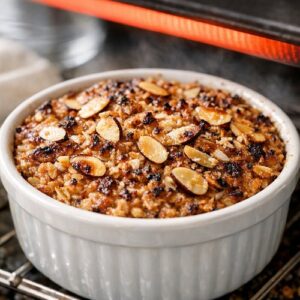
Step 8: Rest and Serve
- This is where patience pays off. Let your baked oats sit at room temperature for 10 minutes. This resting period allows the structure to set so you can slice clean portions instead of scooping. After that, use a sharp knife to cut into 9 equal squares. A light serrated knife works beautifully here.
Notes
- Room-temperature ingredients mix better - Cold egg whites and yogurt can create lumps. Set them on the counter 15 minutes before mixing for smoother incorporation.
- Toast your almonds first for deeper flavor - Spread them on a small pan at 325°F for 4 minutes before topping your batter. This unlocks their oils and intensifies that nutty profile.
- Almond extract is powerful—don't double it - I've seen people think "more extract equals more flavor" and end up with something that tastes medicinal. Stick to the 1½ teaspoons.
- Use pure maple syrup, not pancake syrup - The difference in flavor is night and day. Pancake syrup contains corn syrup and additives that muddy the taste.
- The broil step is optional but transformative - If you're new to this recipe, skip it your first time. Once you're confident, add it for that restaurant-quality finish.
- Don't skip the resting period - I know you want to eat it immediately. Wait the 10 minutes. Your slices will be cleaner and look better plated.
Nutrition
Calories: 260kcalCarbohydrates: 31gProtein: 11gFat: 11gSaturated Fat: 1gCholesterol: 1mgSodium: 301mgFiber: 5gSugar: 10g
Tried this recipe?Let us know how it was!